Martynas is restoring his E30 and sharing his experience with you. This time we are going to show and tell how he prepared and painted his car without professional equipment and a ton of money. While Martynas certainly has his hands growing from the right place, he had no experience in restoring cars. So hopefully this will be somewhat inspirational for you – you can do this too!
This is a second part of article series dedicated to Martynas’ E30. In the first article we looked over the condition of the car, main defects and Martynas’ vision of how it will look like when restoration project is completed. We invite you to read that article first.
In short, this E30 was not in a good shape. However, it is an old car and it could certainly be worse. While some rust was immediately visible, it was only an indication of what can be found underneath some of the body pannels and the layer of paint. So the first step in preparation for a new paintjob was removing fenders to inspect for rust.
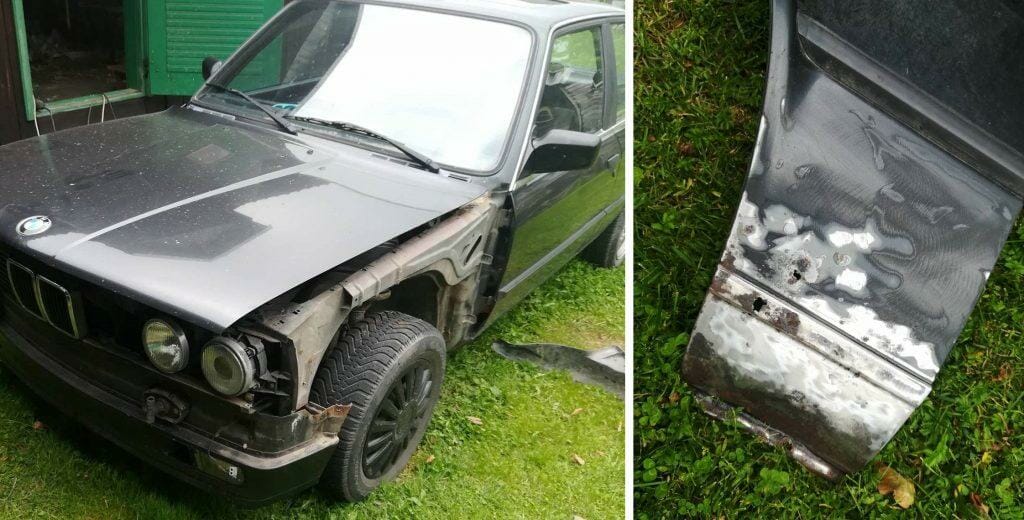
And, of course, there was rust. All plastic components that were on the way, such as the grill and the rear lights, were removed and then Martynas could start sanding old paint away. This, of course, revealed even more rust that was not previously visible as well as some pretty deep dents.
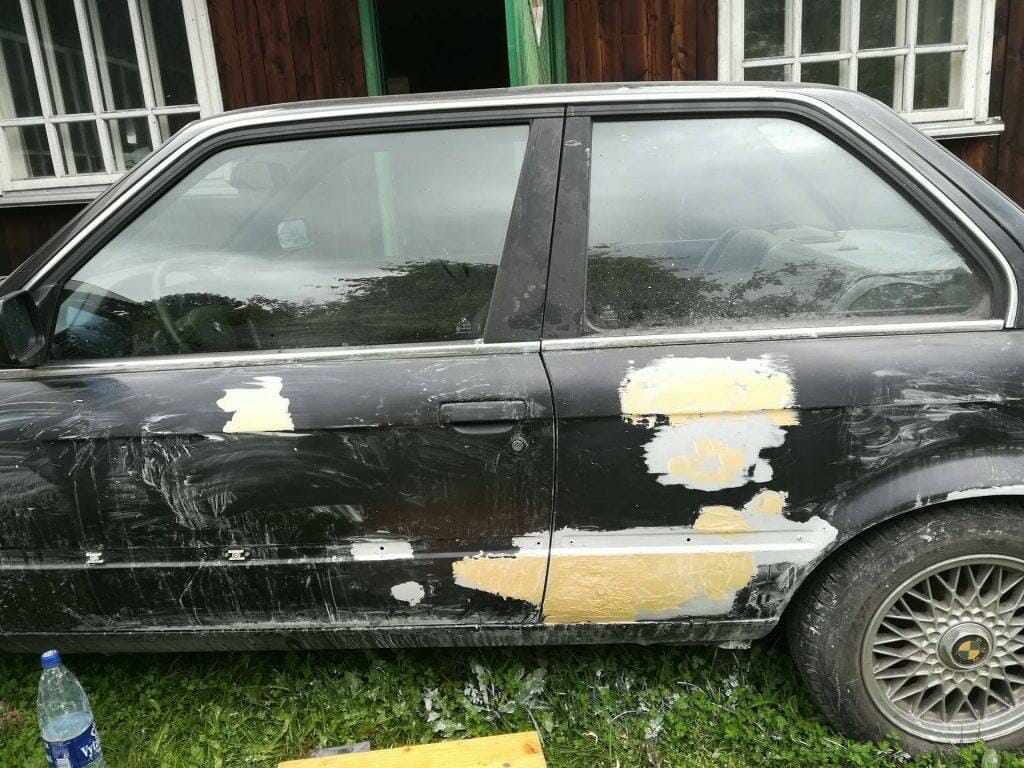
Rust was sanded away completely and bigger spots as well as dents were filled with autobody filler. As you can see in the picture, there were many spots that had to be filled and sanded flush with the rest of the body, but eventually, after several days, work was finished.
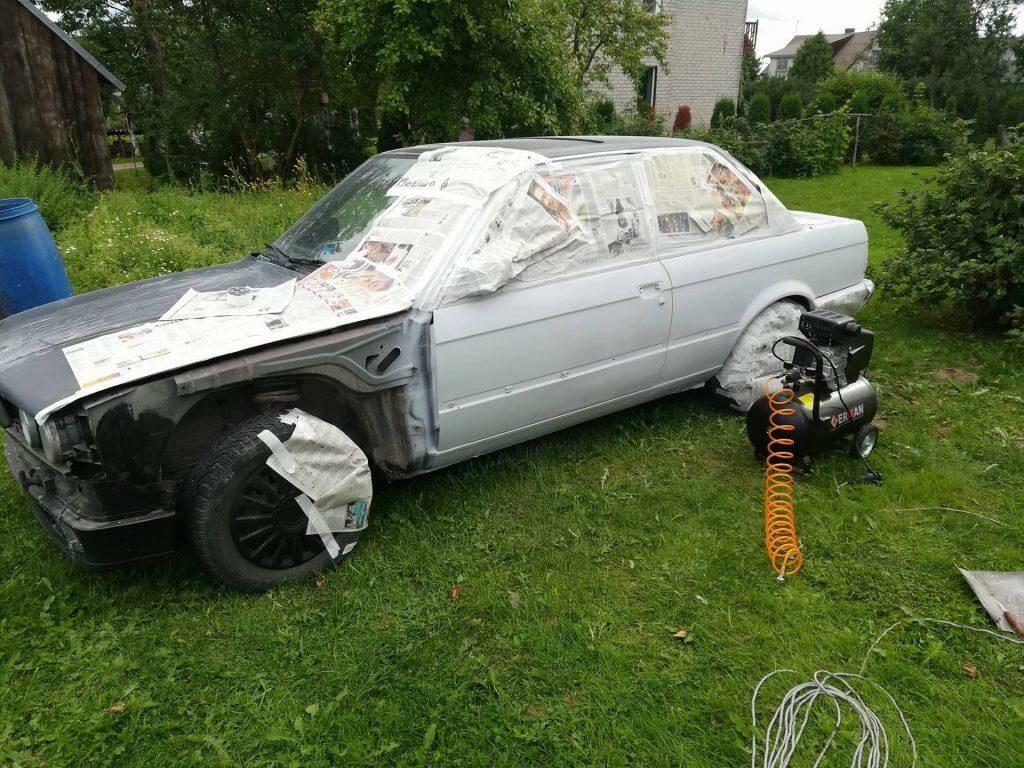
Then it was time to spray the primer. Most people think that this has to be done professionally in a painting booth. And it’s true – results should be better if you take your car to a paint shop. However, Martynas wanted to do it himself and there really is no reason not to try. While it is easy to mess up, you can always sand little drips or dust away. So Martynas sprayed his E30 just on his lawn outside of the garage. All wheels and windows were masked before this operation.
While results were not perfect – several insects and some dust landed on wet primer – proper sanding fixed everything. And then it was time for painting. This, of course, cannot be done outdoors.
Martynas put up a temporary painting booth in a garage using just some plastic sheets. The goal is to let the paint cure uninterrupted by dust, insects or rain. His make-shift painting booth worked just fine. He did buy a good quality spray gun, but didn’t spend a fortune on it. The colour is called “Extra Black” and it seems to live up to its name.
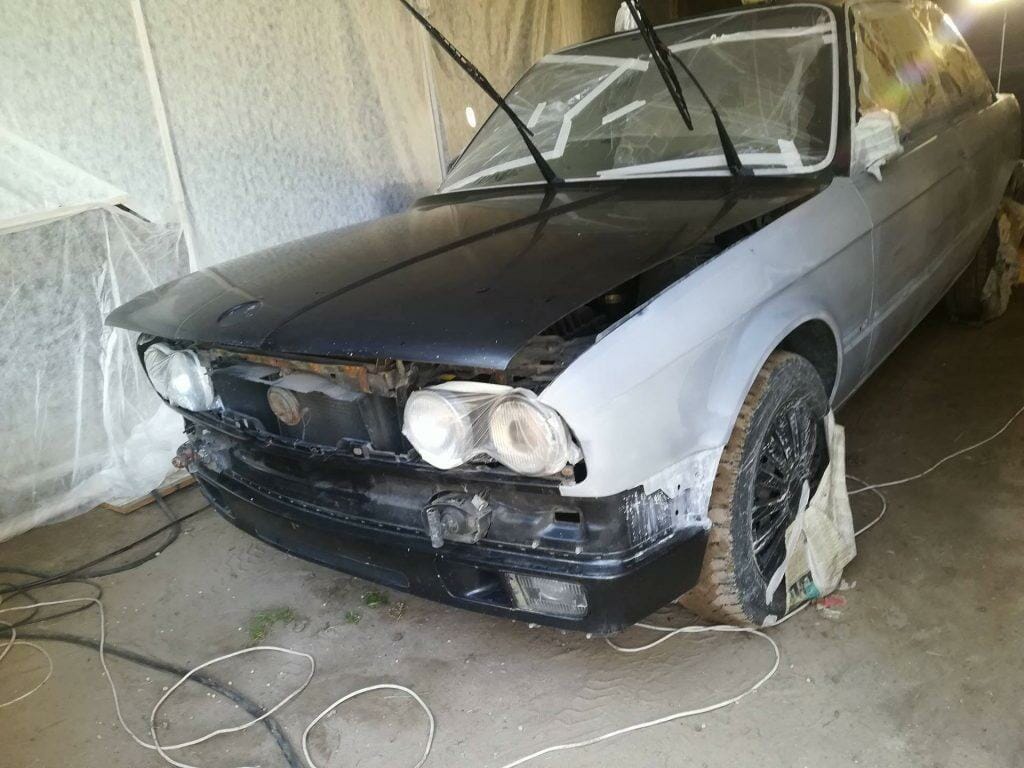
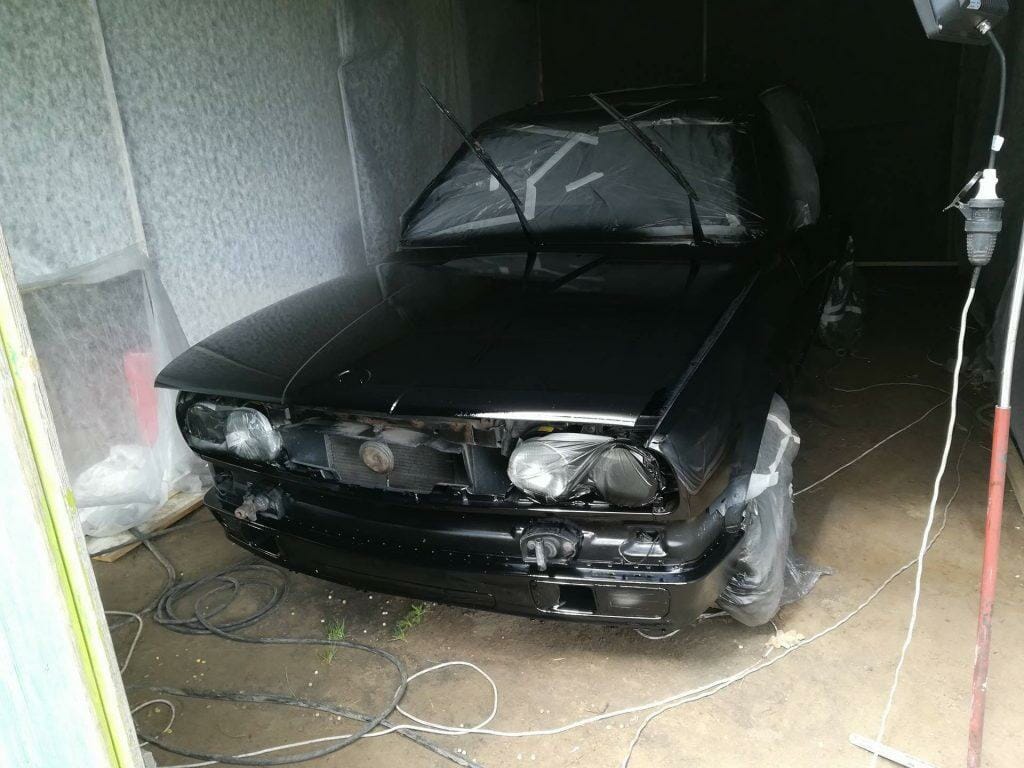
One layer of paint and a couple of layers of lacquer were sprayed on the car. Paint layer was pretty much perfect, but there are some drips in the clear coat. It was made thicker for this exact purpose – imperfections will be gone in polishing.
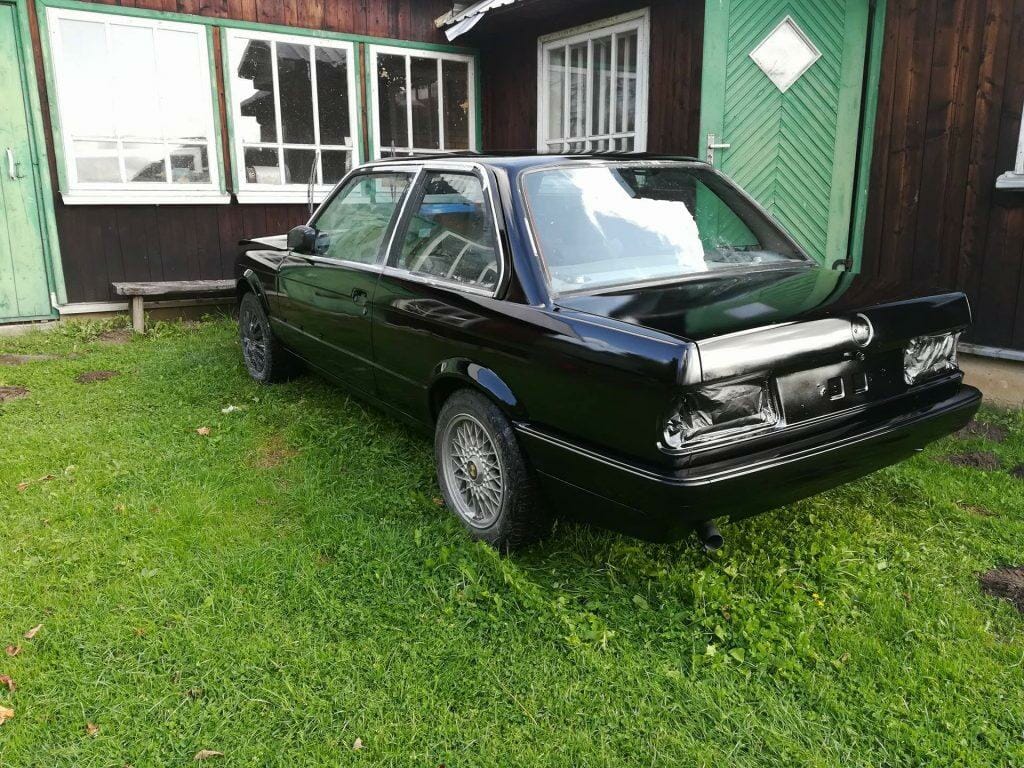
This is how the car looked like after it was assembled back together.
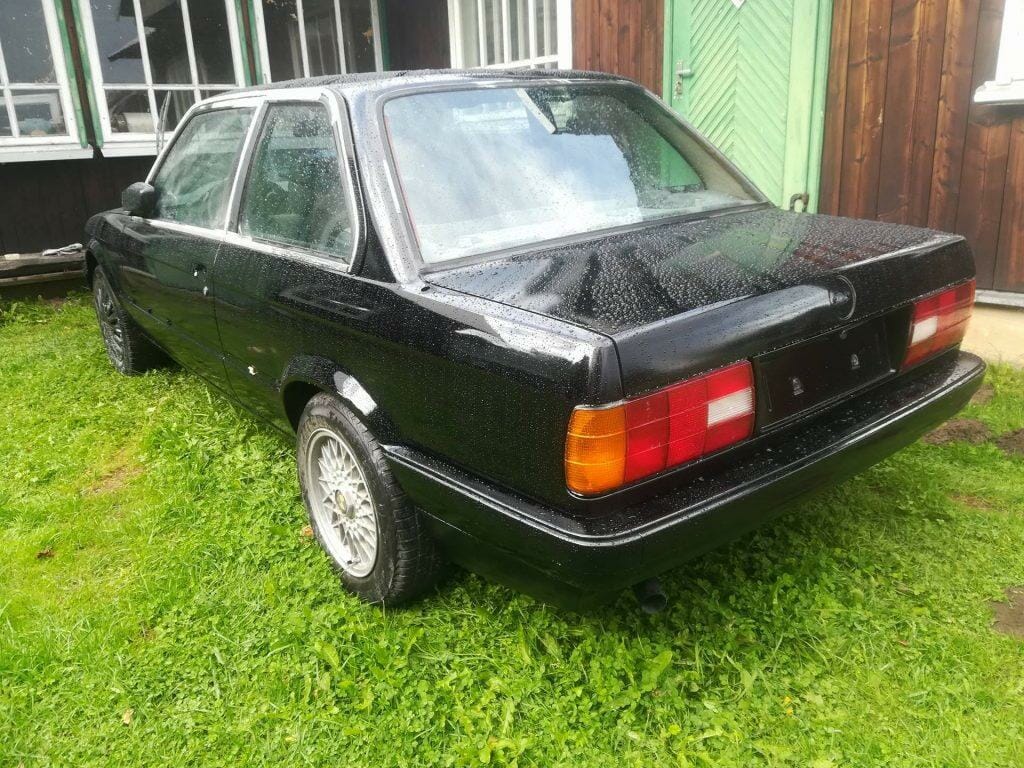
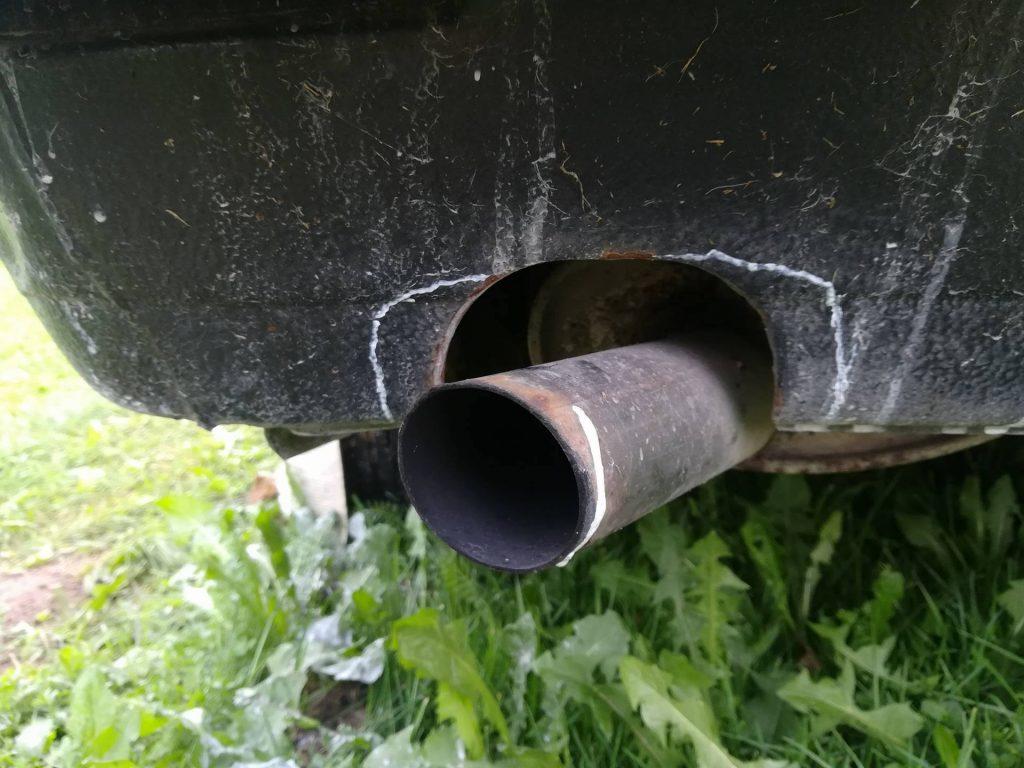
And this is what the new exhaust looks like.
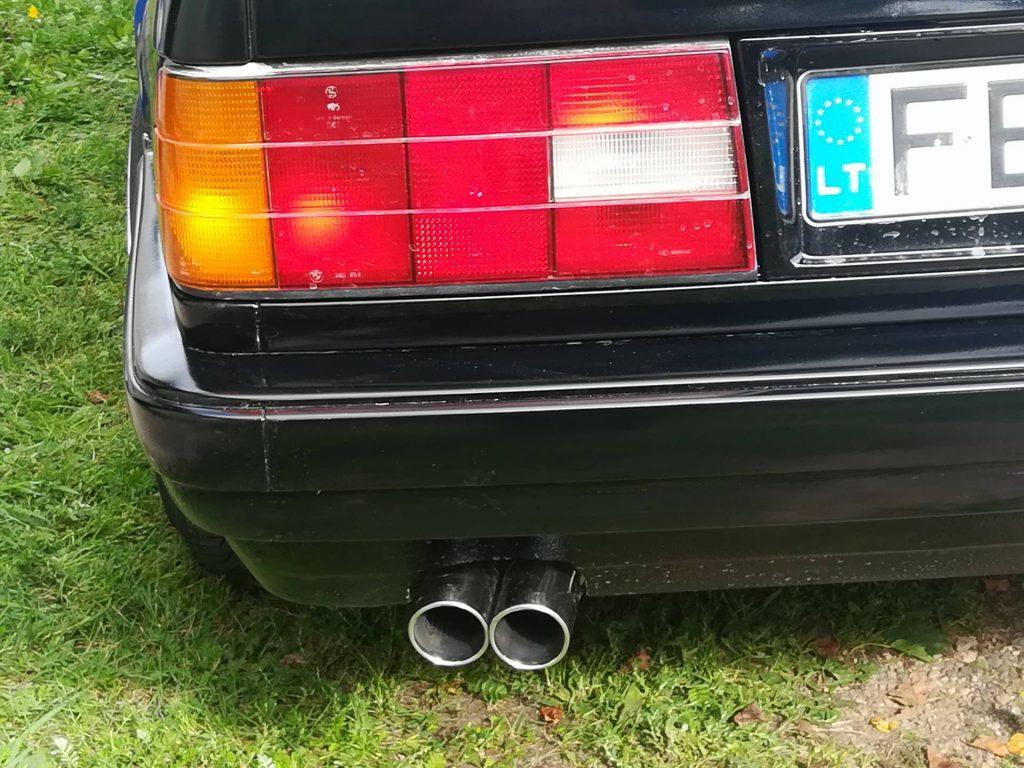
With this exterior restoration is almost done. It does still require some polishing, but the clear coat is still not cured enough for that. However, E30 is already up on its feet – it is mechanically well and safe to drive. By the way, speaking of the feet, this came in the mail –
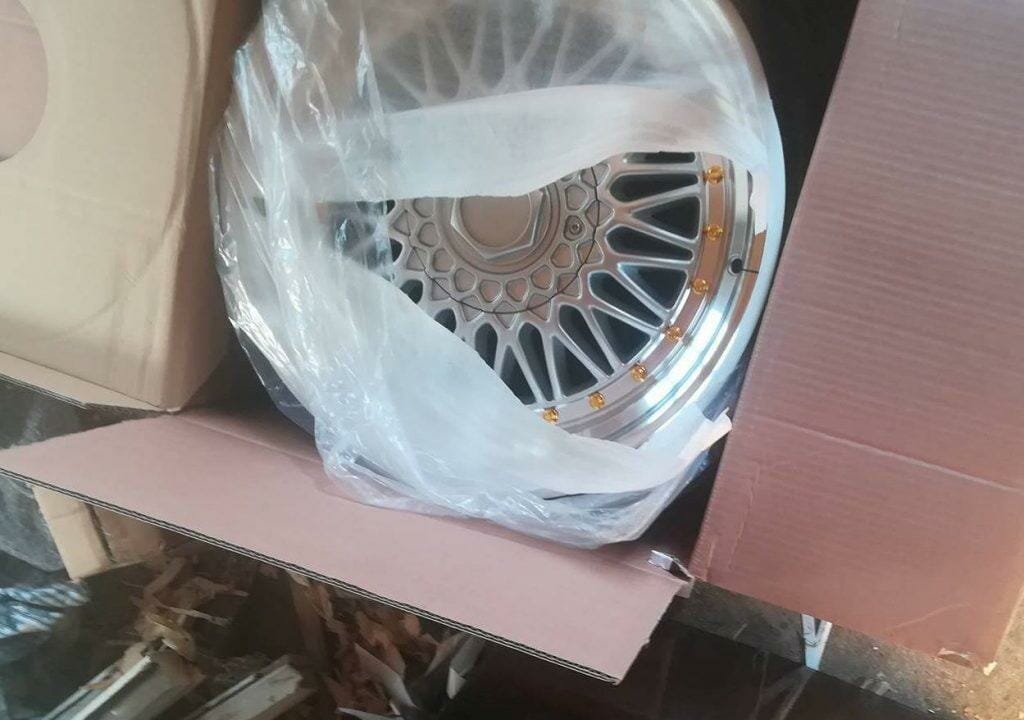
But more about the wheels and how the car looks with them in the next article. Soon it will be time to start working on the interior of the E30, which is not in a good shape at all.


